
Understanding the ‘Motherboard Yellow Light’ Error: Causes and Fixes-When you power on your computer and notice a yellow light on the motherboard, it can be a sign of something amiss in your system. The motherboard yellow light is a common issue that can be tricky to diagnose, as it could point to a variety of problems within your computer. However, understanding the potential causes of this error and the ways to fix it can help you get your computer back up and running smoothly.
In this article, we’ll delve into the causes behind the motherboard yellow light error, what it indicates, and some effective solutions you can try.
What is the Motherboard Yellow Light?
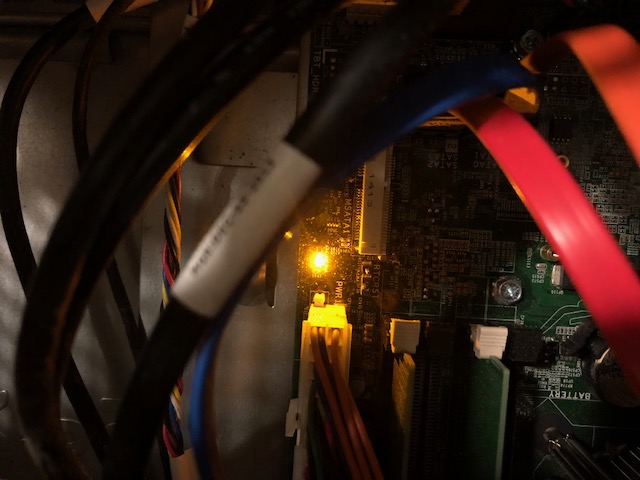
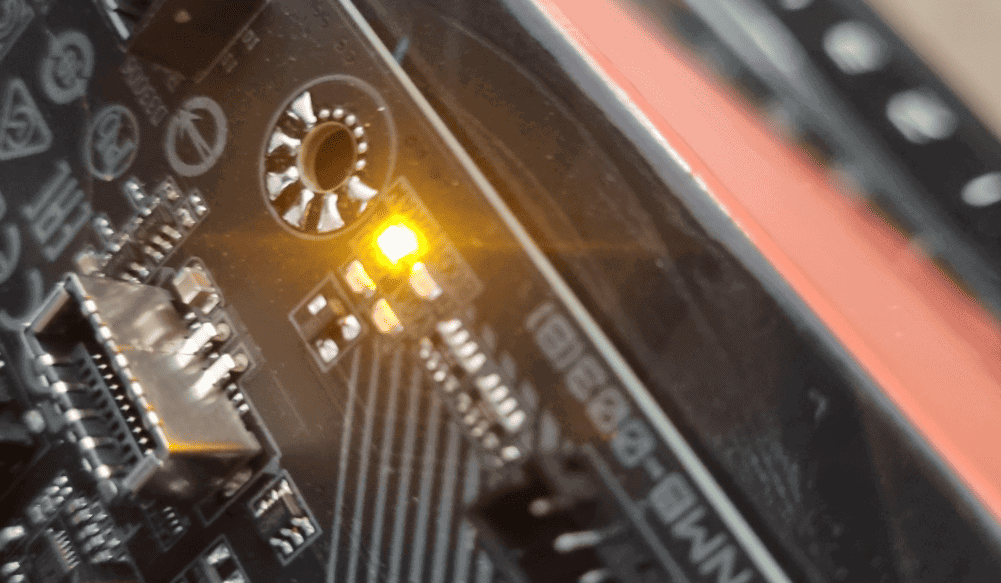
The motherboard yellow light, often seen as a yellow or amber LED on the motherboard, is a diagnostic indicator used by many modern motherboards. It’s part of the motherboard’s built-in diagnostic system, which helps identify issues during the boot-up process. Depending on the motherboard model, the yellow light could indicate different things, but it typically suggests an issue with the power supply, hardware connection, or some other underlying issue preventing your system from booting.
When the motherboard yellow light appears, the computer might fail to fully power on, or it may shut down unexpectedly. Some motherboards are equipped with color-coded LEDs that help pinpoint the issue based on the color and location of the light.
Common Causes of the Motherboard Yellow Light Error

Understanding the reasons behind a motherboard yellow light is essential for effective troubleshooting. Below are some of the most common causes:
1. Power Supply Issues
One of the most frequent reasons for the motherboard yellow light error is a faulty power supply. If your computer’s power supply unit (PSU) is not delivering the required amount of power to the motherboard, it can trigger the yellow light indicator. This could be due to a faulty or underpowered PSU, loose power cables, or damaged connectors.
Inadequate power supply can prevent the motherboard from receiving enough energy to initiate a proper boot sequence, resulting in the yellow light error. If you recently upgraded your system or added more components (such as a new GPU), your power supply might not be sufficient to handle the increased power demand.
2. Loose or Improper Hardware Connections
Another possible cause of the motherboard yellow light is an issue with the internal hardware connections. If any cables, such as the power cables, data cables, or CPU connection, are loose, improperly connected, or not seated properly, it can cause the motherboard to malfunction and trigger the yellow light error.
Sometimes, the issue may lie with specific components like the RAM or the CPU. Improper installation or a loose component could prevent the motherboard from detecting it correctly, thus leading to the yellow light error. Checking and ensuring that all hardware is firmly seated can often resolve this issue.
3. Faulty RAM or Memory Issues
Faulty or incompatible RAM is another potential culprit behind the motherboard yellow light error. If your computer’s memory modules are not functioning correctly, the motherboard may fail to initialize, triggering the yellow light.
This could happen if one of your RAM sticks is defective, or if you’ve recently added new memory that is not compatible with your motherboard. Even improperly seated RAM can cause boot problems. If you suspect RAM issues, it’s a good idea to check each memory stick one by one to determine if a specific module is causing the problem. (Read More: Motherboard Light Orange: Causes and Fixes)
4. Overheating Components
Overheating is a common issue for many computer components, and it can also contribute to the motherboard yellow light error. If the CPU or other components are running too hot due to inadequate cooling, the motherboard may shut down the system to prevent damage, resulting in a yellow light indicator.
Improper airflow within the case, dust buildup on cooling fans, or faulty thermal paste application on the CPU can all lead to overheating. It’s essential to ensure that your cooling system is functioning correctly and that your components are not operating beyond their recommended temperature limits.
5. BIOS or Firmware Issues
In some cases, a motherboard yellow light could be related to issues with the BIOS (Basic Input/Output System) or firmware. An outdated or corrupted BIOS can cause the motherboard to fail to initialize properly, which might trigger the yellow light error. Similarly, BIOS settings that are incorrectly configured can lead to startup issues.
Updating or resetting the BIOS to default settings may help resolve the error. Keep in mind that flashing the BIOS can be a delicate process, so it’s important to follow manufacturer instructions carefully to avoid causing further issues. (Read More: Exploring the Power of Technology Connections in Shaping the Future)
How to Fix the Motherboard Yellow Light Error
Once you’ve identified the potential causes of the motherboard yellow light, it’s time to look into some troubleshooting steps to resolve the issue. Here are a few ways you can address the error:
1. Check and Secure Power Connections
If you suspect power supply issues are causing the motherboard yellow light, the first step is to check all power cables and connections. Ensure that the 24-pin ATX cable and 8-pin CPU power cable are firmly connected to both the motherboard and the power supply.
If the cables are loose or not properly seated, the motherboard may not receive the required power to boot the system. It’s also a good idea to test the PSU with a multimeter or by swapping it out with a known-working power supply to see if that resolves the issue.
2. Reseat or Replace RAM
If you suspect that faulty RAM is the issue, start by reseating your memory modules. Remove the RAM sticks from their slots, clean them gently with compressed air, and then reinsert them securely into their respective slots. If this doesn’t fix the issue, try testing each memory module individually to identify the faulty stick.
If the problem persists, it might be necessary to replace the defective RAM with a compatible module. Double-check the motherboard’s compatibility list to ensure the new RAM is supported.
3. Clean and Improve Cooling System
If overheating is causing the motherboard yellow light error, make sure your cooling system is working properly. Clean any dust buildup from the CPU cooler, fans, and vents to improve airflow within the case. You should also inspect the thermal paste on the CPU and reapply it if necessary.
Upgrading your cooling solution, such as installing additional case fans or a more powerful CPU cooler, can help maintain lower temperatures and prevent future overheating issues.
4. Reset or Update the BIOS
If you suspect BIOS issues, you can try resetting the BIOS to its default settings. To do this, locate the CMOS jumper on the motherboard (usually near the battery), and follow the manufacturer’s instructions to reset the settings. Alternatively, you can remove the CMOS battery for a few minutes and then replace it to clear the settings.
If your BIOS is outdated, visit the motherboard manufacturer’s website to download and install the latest firmware version. Be sure to follow all instructions carefully when updating the BIOS to avoid potential problems. (Read More: Why Is My Motherboard Light Orange?)
5. Inspect and Replace Damaged Components
In some cases, the motherboard yellow light may indicate a more serious issue, such as a damaged motherboard or malfunctioning components. If none of the above solutions resolve the problem, it may be time to inspect your motherboard and other hardware for signs of damage.
Look for burnt areas, swollen capacitors, or any visible physical damage on the motherboard. If you find any, replacing the damaged components may be necessary to get your system working properly again.
When to Seek Professional Help
While many motherboard yellow light errors can be fixed by following the steps above, there may be instances where the issue is more complex or beyond your ability to repair. If you’ve tried all troubleshooting methods and the error persists, it may be time to seek professional help from a computer technician. They can help diagnose and repair the issue accurately, ensuring your computer is running smoothly once again.


